When you are growing your own microgreens, there are several things that you need to remember. Remember that microgreens require a pH of between 5.5% and 6.5%. Before you start to sprinkle the seeds, ensure that your growing pads are fully saturated. After this, sprinkle the seeds onto the growing pads. You can use as little as 2 tablespoons of dry seed for small varieties or a quarter cup for larger ones.
Once you have a little knowledge, you can start to grow your own microgreens. Ted Chang will show you how to grow your microgreens in punnets of used strawberry liners. They do not require a backyard or green thumb to grow them. Even your kitchen window sills could be used! But don't think they will grow quickly. You can also try different types if you aren't sure.
The nutrient mixture must provide enough nutrients to the plants. It is important to make sure that your nutrient solution has all the micronutrients necessary for your microgreens' growth. It is best to use trays specifically made for microgreens. If you're not comfortable working with containers, use a growing mat. For microgreens, you don't necessarily need to use a lot of soil. Instead, cover the pots with plastic wrap.
This guide will help you make it easy to grow your own Microgreens. The microgreens are generally ready to harvest in 10 to 14 days, though some varieties may be ready earlier. It is best to keep your growing container as cool as you can. For the first few days, you can keep the compostable trays out of direct sunlight if you are using them. You can also keep the microgreens in a cool place in the refrigerator.
Growing your own microgreens is easy and safe. Microgreens are rich in nutrients, which can be used to boost your health. These can even be grown right on your windowill or roof. It's quite simple. If you don't feel confident in your greens' growth capabilities, you can hire professionals to assist you. You will be rewarded with tasty, nutritious microgreens which are a wonderful addition to your diet.
Microgreens are nutritious and very portable. Because of their small size, these plants can be packed in lunches easily. Microgreens are an easy and quick way to get your daily intake of fresh vegetables. It's important to choose healthy seeds. Follow the instructions on the packaging. Enjoy your new crop! If you don't grow microgreens yet, think about starting a company with these healthy crops. This may be a great idea for a startup business.
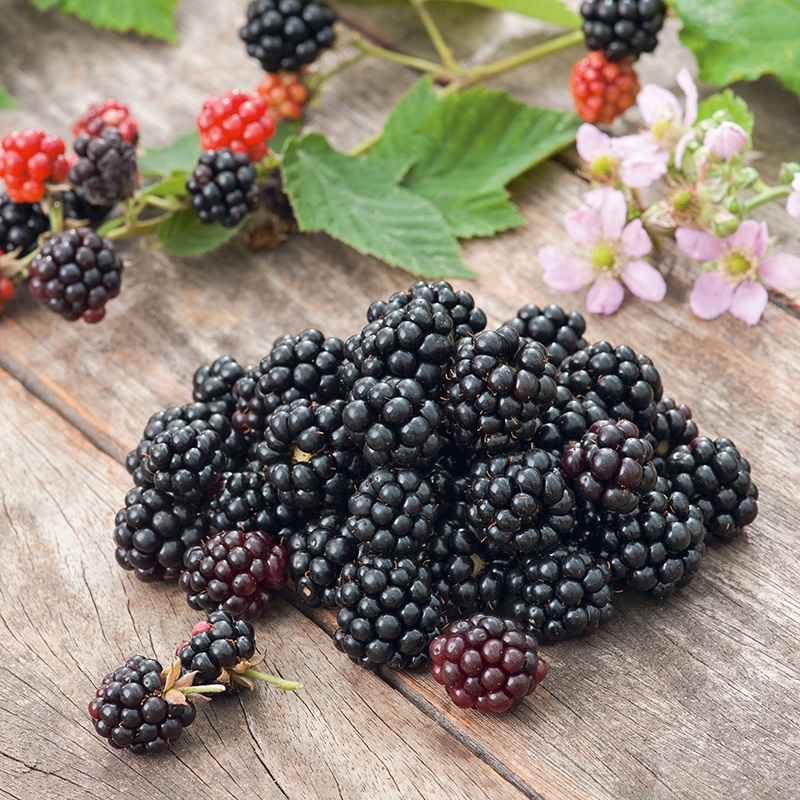
A microgreens-growing business is a great way for retired people to make money and keep the world fed. Microgreens can be grown in as little as a week and you will also make a small profit. Some of the most well-known microgreen crops are: arugula; basil; celery; cabbage, endive. radish. Microgreens can be a great way for retired people to make money. You can also grow your own heirlooms.
FAQ
How often should my indoor plants be watered?
Indoor plants need watering every two days. The humidity inside your house can be maintained by watering. For healthy plants, humidity is vital.
What seeds should be started indoors?
Tomato seeds are the best choice for starting indoors. Tomatoes produce year-round fruit and are easy to plant. If you are growing tomatoes in pots, take care when you transplant them to the ground. If you plant too early, the soil may dry out, which could cause the roots to rot. Be aware of diseases like bacterial wilt which can quickly kill plants.
What vegetables are good to grow together and what are the best?
It is possible to grow tomatoes and peppers together, as they like the same soil conditions and temperatures. They are a good match since peppers need colder temperatures to produce their best flavor. If you want to try growing them together, start seeds indoors about six weeks before planting them. Once the weather cools down, transplant the pepper or tomato plants outdoors.
Which kind of lighting is most effective for growing indoor plants?
Because they emit less heat that incandescents, floriescent lights are a good choice for growing indoor plants. They provide steady lighting without dimming or flickering. Fluorescent bulbs can be purchased in regular and compact fluorescent versions. CFLs require 75% less energy than traditional bulbs.
How do you prepare the soil?
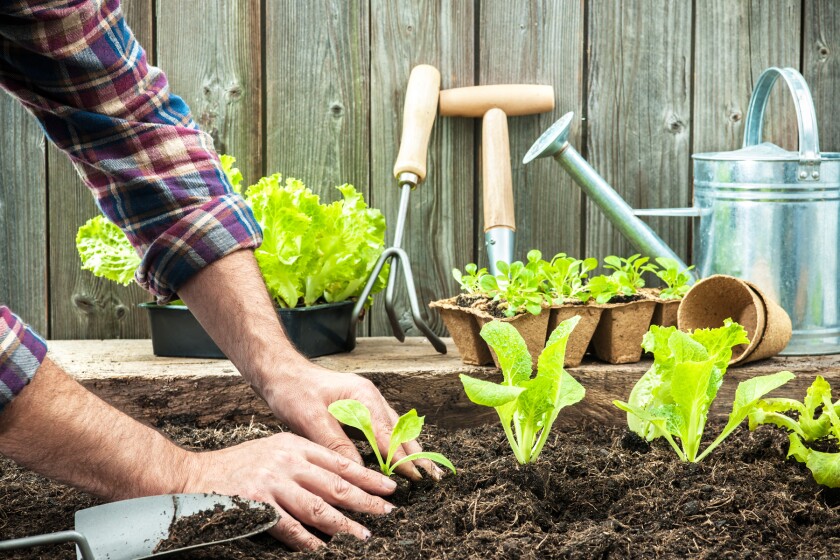
Preparing soil is simple for a vegetable garden. The first step is to remove any weeds that may be in the area where your vegetable garden will be planted. You can then add organic matter, such as composted cow manure, leaves and grass clippings. Let the plants grow by watering well.
What should I do the first time you want to start a vegetable garden?
When beginning a garden, the first thing to do is to prepare the soil. This involves adding organic matter like composted manure and grass clippings as well as leaves, straw, straw, and other materials that provide nutrients to the soil. Next, you will plant your seeds or seedlings directly into the prepared holes. Water thoroughly.
Statistics
- 80% of residents spent a lifetime as large-scale farmers (or working on farms) using many chemicals believed to be cancerous today. (acountrygirlslife.com)
- According to the National Gardening Association, the average family with a garden spends $70 on their crops—but they grow an estimated $600 worth of veggies! - blog.nationwide.com
- Today, 80 percent of all corn grown in North America is from GMO seed that is planted and sprayed with Roundup. - parkseed.com
- As the price of fruit and vegetables is expected to rise by 8% after Brexit, the idea of growing your own is now better than ever. (countryliving.com)
External Links
How To
2023 Planting Date: When to Plant Vegetables
When the soil temperature is between 50degF to 70degF, it is best to plant vegetables. If you wait too long, the plants may become stressed and produce smaller yields.
It takes approximately four weeks for seeds to germinate. Six hours of direct sunlight is required each day for seedlings to emerge once they have emerged. You should also give the leaves five inches of water every week.
Vegetable crops are most productive in the summer. There are some exceptions. For instance, tomatoes are good all year.
Protect your plants from frost if it is cold. Cover the plants with row cover fabric, plastic mulch, or straw bales.
You can also purchase heatmats to keep the ground heated. These mats are laid under the plants, and then covered with soil.
Keep weeds under control by using a weeding tool or hoe. Cut them at the base to get rid of weeds.
Compost can be added to your planting hole in order to stimulate healthy root system growth. Compost is a good way to retain water and provide nutrients.
Keep the soil moist but not saturated. Water deeply once a week.
Water thoroughly so that all the roots are wetted. Then let any excess water drain to the ground.
Don't overwater. Overwatering encourages disease and fungus growth.
Fertilize early in the season. Fertilizing too early can result in stunting and lower fruit production. Wait for the plants to start producing flowers.
You should remove all damaged parts when you harvest your crop. Too soon harvesting can lead to rotting.
Harvest when the fruits have reached their peak. Removing the stems is a good idea. Store the fruits in a cool area.
You can store the picked vegetables immediately in the fridge
Growing your own food can be easy. It's enjoyable and rewarding. The rewards include delicious, nutritious food that tastes great.
Growing your own food can be easy. All it requires is planning ahead, patience, and knowledge.